

Classroom hacks!
Every teacher I have ever known has wanted to create the best learning environment and classroom for their kidlets. Trouble is, particularly when you are staring at bare walls and an empty room - what to do with it and where do you start?
We have come up with a list of things to think about when creating a super space!
1. have a clear out!
If you are inheriting a classroom, you are more than likely going to spend a few days clearing out before setting up your classroom. I have inherited a few classrooms and have felt guilty about throwing anything out, particulary when it isn't/wasn't mine. I think you need to be quite brutal and honest with the items you find. If you feel you are never going to use it - ask other teachers if they want it, otherwise get rid of it. Those worksheets from 1976 won't come in handy!
Try to recycle as much as possible. I have had to sort out some classrooms where there have been years of teacher clutter and no one has been brave enough to dispose of it all!
If you are returning to the same classroom or moving classrooms within school, it is still worth having a clear out. I would normally do this at the end of the year but sometimes you don't know which classroom you will actually be in, so best to wait before putting up displays and setting up!
2. have a cunning plan
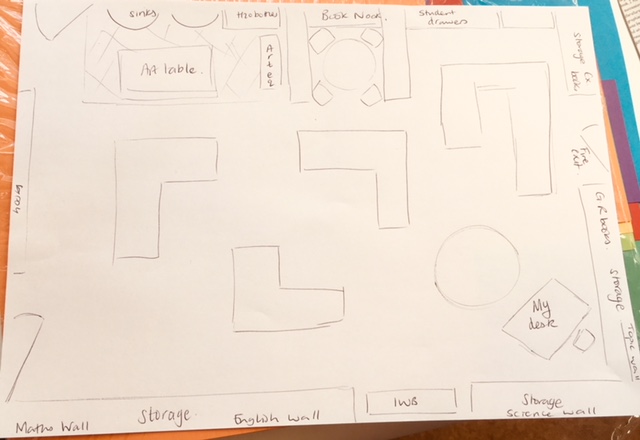
Sketch a birds-eye view of your classroom and play around with different orientations of your furniture. I normally base it around where the whiteboard or interactive whiteboard is, I then add in my desk and work from there.
Most schools allow teachers to choose how they arrange their students tables. I have tried a variety of different styles in the past. It all depends on your class and you will learn more about them once you get to know them. I would start with a simple layout to begin with.
I normally name my table groups following the theme or topic we are focussing on for that term. I have named them different types of minibeasts, characters from books, bands from different decades to Ancient Mayan cities! The names are clearly labelled on the desk resource trays or dangling from the celing or indeed both at times!
3. resources
This very much depends on the classroom that you have. Some classrooms have loads of space and others have little to work with. As you have read previously on the 'teacher desk' page, I like my resources to be well-organised. I like to know where everything is and be able to access it easily.
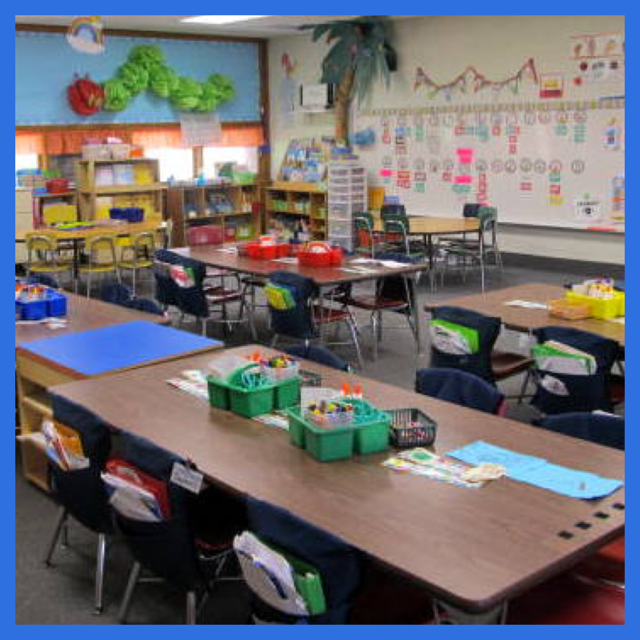
It is really important that the resources and equipment for the students is stored in an accessible place and clearly labelled. I use desk caddy trays on each table. I got them from www.plasticboxshop.co.uk because they have a range of colours and are reasonably priced. They last for a long time too! I put the name of the tables on each side of the tray. This year, when I taught Year 6, they had the following in them:

- 6 Dictionary/ thesauruses
- 6 Whiteboards
- 6 Whiteboard rubbers
- 6 Whiteboard pens
- Handwriting pens
- Colouring pencils
- 2 Glue sticks
- 6 30cm Rulers
- 6 Pairs of scissors
- Rubbers and pencil sharpeners
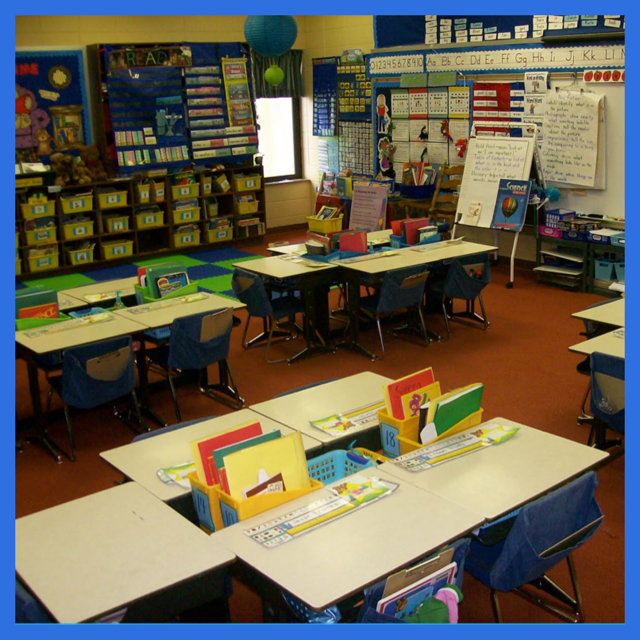
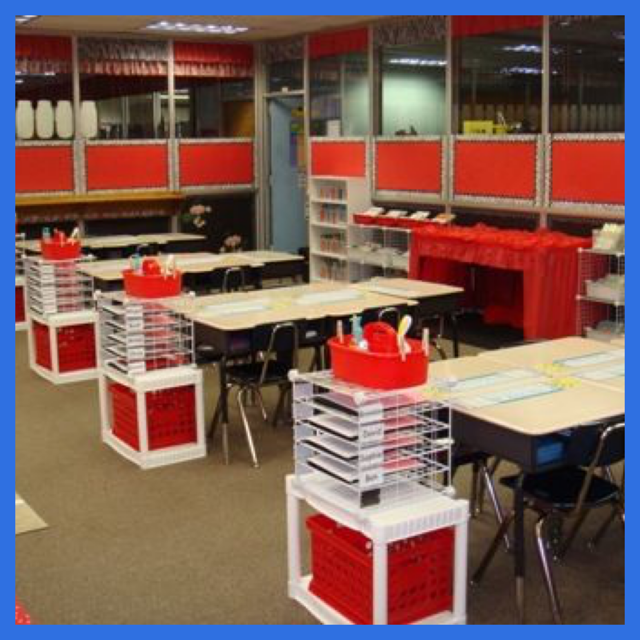
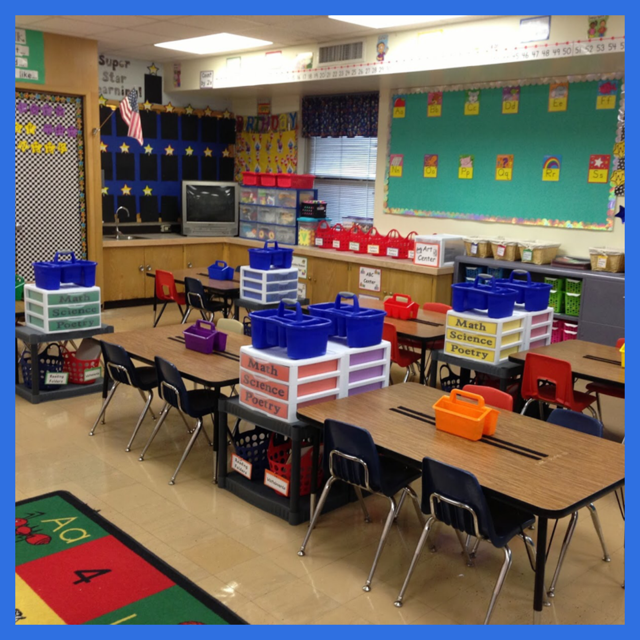

I have seen lots of different ways of organising resources in the classroom. I like the idea of each table area having one of these tower drawers so that the students have quick access to the exercise books or textbooks.
4. LEARNING ZONES and displays
Have you thought about the different areas in your clasroom and what you want them to look like? Most primary teachers have a reading corner, English or Literacy display and Maths display. Some schools prescribe how it should look and others give the teachers the choice. Some displays can be permanent and don't really change throughout the year, others are regularly changed or added to. It should really be up to the teacher how and what they display in their classroom.
Here are some ideas:

The Reading Corner
aka The Book Nook, Reading Zone, Reading Den.
This area is dedicated to the love of reading therefore you can go as wild as you like! Most reading corners are a comfy space with cushions, chairs, sofas, throws, rugs and carpets. They also hold copious amounts of books. This area should be a safe haven for people to be able to read in peace and quiet. You can also style the corner around the theme, topic or book you are focussing on for the term. I had a rainforest reading corner once where I used to play rainforest music and sounds during reading time, the kidlets loved it!
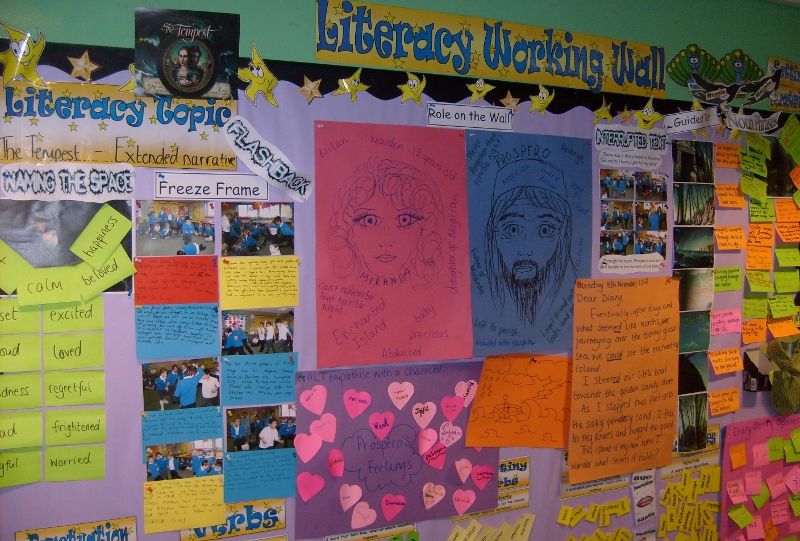
English Working Wall
An area for all things English/Literacy! It is here you would display what the focus is in English lessons for the week with clear objectives for the students to understand. Some posters can stay up all year including vocabulary and punctuation reminders. A great deal of it should be changing constantly:
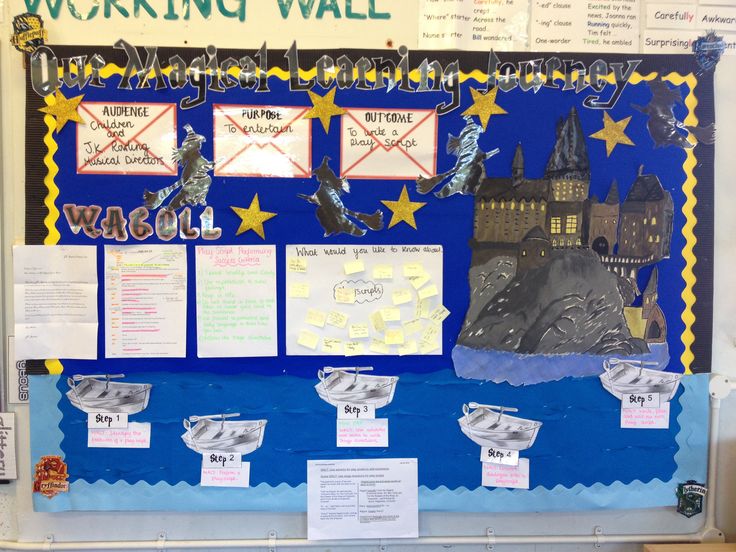
- Using post-it-notes for students to add ideas and share thoughts, answer questions etc.
- Covering part of it in clear self adhesive film is great for when you want them to answer questions or share ideas and they can write on it with whiteboard pens.
- Taking photos of students learning or their own photos of an activity and placing it on the wall.
- Photocopies of students work or examples of work from that week.
- Interactive activities for the students to take away and have a go at at their own desk.
Writing washing lines could be hung near your English working wall. Here you could display the writing toolkit needed for the genre of writing you are focussing on.
I used to have an English working wall which would be changing and evolving constantly throughout the unit of work across several weeks. I also had a separate English wall which would display the students work; it had been edited and improved before displaying and would stay up for a longer period of time.
Lots of resources for all of these areas are available here!
Maths Working Wall
Similar to the English working wall. Displaying the current topic for the week and objectives should be clear. Information relating to maths such as:

Static along the top and changeable along the bottom
- the 4 operations and vocabulary
- Different examples of money
- Examples of time language
- 100 square
- Days and months
- Place value chart
- Thermometer
- 2D and 3D Shape pictures
- Greater than, less than, equal to symbols
- Different strategies to approach a problem
It is also a place where you can set challenges for the students to access. The challenge could perhaps be on display and they answer on post-it-notes or write directly on the board. You could also keep them in pockets attached to the wall for them to select and work on at their desk.

You could also have a Maths washing line above the wall and here you could hang the important vocabulary and strategies the students will be using that week.
There are so many different ways you could use the maths wall!
science lab

Use every available space in your classroom! This is a good trick to filling a tricky corner.
A Science display board which has key vocabulary for investigations and enquiry. Also key vocabulary for the topic you are currently studying. In addition to this:
- Host a Science day where the students study a famous Scientist and display their learning including photographs. Lots of other ideas here how to make cross-curricular links with other subjects such as Maths, P.E and Music.
- Take part in Science week and display the weeks activites and investigations. The next Science week is from the 8th - 17th March 2019. www.britishscienceweek.org/
- Science Question of the Week - you display a question and get students to share their answers on post-it-notes and display on the boards.
Science display resources can be found here.
humanities - history and geography
A history board displays the history topic for the term. It displays vocabulary, photos, posters and students work. It can include reference to the following:
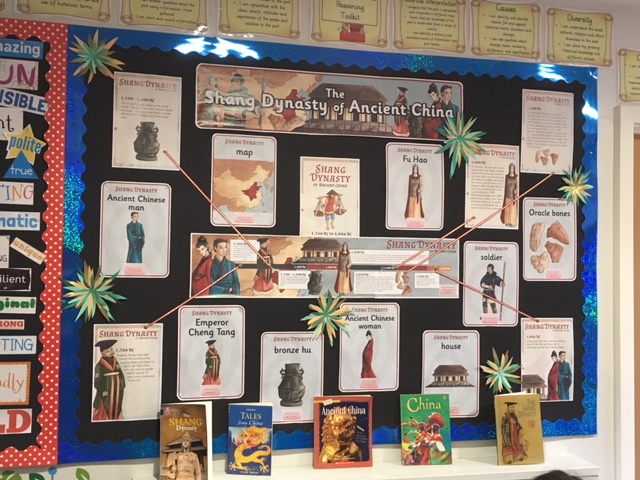
- Chronological understanding - a timeline, key events from an era, key dates.
- Vocabulary - appropriate use of historical terms and use of language showing the passing of time.
- Features of the past - from different periods and societies.
- Questioning - create questions and answer questions, select and record information from research.
- Diversity - understand social, cultural, religious and ethnic diversities from the past.
- Causes - identify for and against reasons for historical events, situations and changes.
- Links - make links between events and situations, note connections, contrasts and trends over time.
- Historical interpretations - recognise the past is represented in different ways, identify primary and secondary sources of information.
- Communicate - communicate findings in different ways, create structured accounts inculding written narratives and analyses.
- Organise - recall, select and organise information, select and organise historical information.
A Geography board displays the Geography topic for the term. It displays vocabulary, photos, posters and students work. It can include reference to the following:

- Locational knowledge - using maps, atlases and globes, ask geographical questions and answer them, study and draw pictures, identify countries and capitals, express own ideas and opinions, giving detailed reasons. Reach reasoned and informed solutions and discuss consequences.
- Human and Physical Geography - identify key physical and human characteristics of different locations, draw diagrams produce writing, communicating in different ways. Ask, research and explain how human and physical Geography has changed over time.
- Fieldwork - Observe and record information and features in a variety of ways, take photos, create maps, study aerial photos - comparing the current location. Make sketches and notes and undertake different environmental surveys. Record changes and observations using a method of choice. Experiment with grid references. Analyse evidence and draw conclusions.
History and Geography display resources can be found here.
art gallery
I have always made space for an art gallery in the classroom, even if I don't have a spare board. I normally get round this by using a washing line and displaying work on there. I have also used smaller wall areas to display information about the topic or artist, designer or architect. I tried to focus on a different creative artist every term. Find more ideas and resources here.

This was a display of a whole school Art day. Each year group studied a different form of art such as printing, painting, modelling, collage, sketching and photography.